
Setup QuickBooks Online
Last updated on Aug 24, 2026
The QuickBooks Online Connector enables information to flow between your Maxio account and your QuickBooks Online account. Once connected, QuickBooks Online shares responsibility for managing your financial records, so the actions you take and the settings you manage in QuickBooks Online can significantly affect the information stored in Maxio.
Before you connect
Important: QuickBooks Integration must be enabled in your account by Maxio Support before you can connect. Contact support@maxio.com to get started. If you plan to connect to a QuickBooks Sandbox account for testing, or a non-US version of QuickBooks Online, let Support know so they can enable your integration with the right settings in place.
Before your first sync, make these QuickBooks Online changes:
- Disable Invoice Automation. Since Maxio handles your invoice scheduling, turn off QuickBooks Online's automatic invoice creation to avoid duplicate invoices between the two systems.
- Custom Transaction Numbers. If Custom Transaction Numbers are enabled in QuickBooks Online, Maxio automatically disables this setting through the API during your first sync. No manual action is required.
Connect to QuickBooks Online
Once your QuickBooks Integration is enabled and the changes above are made, connect the two systems.
To connect Maxio to QuickBooks Online
-
Log in to QuickBooks Online as an Administrator.
-
In Maxio, navigate to Admin > Integrations > QuickBooks, then select Connect to QuickBooks.

-
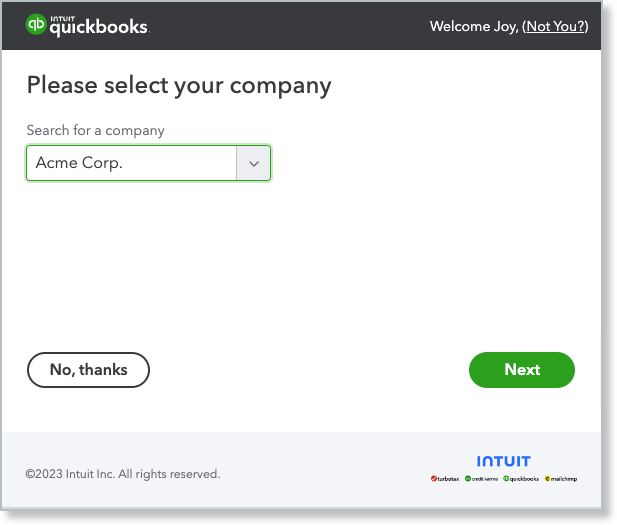
QuickBooks Online prompts you to log in, if you aren't already, then choose the company you want to connect and select Next. This screen and the next step happen on QuickBooks Online's own site, not in Maxio.
-
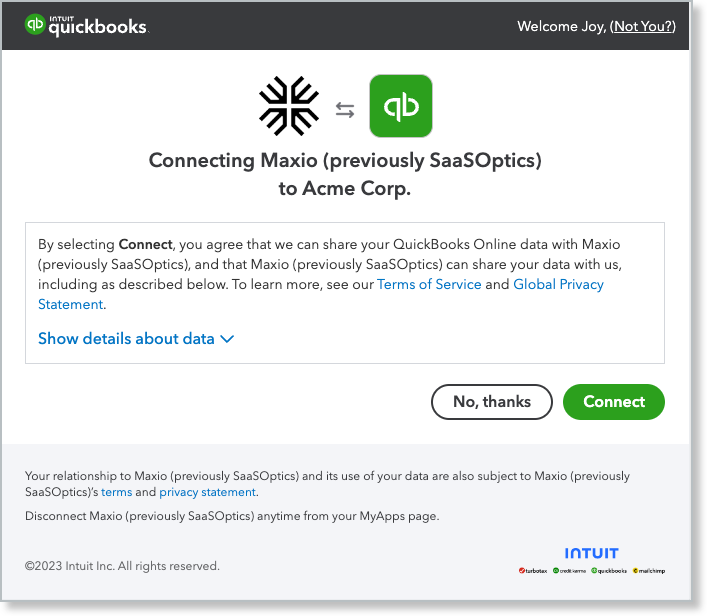
Confirm the connection by selecting Connect.
-
Maxio returns you to the QuickBooks integration page with a banner confirming the connection succeeded.
If the connection fails, Maxio shows a banner asking you to try again.
Disconnect and reconnect
Connecting to QuickBooks Online authorizes Maxio to access your QuickBooks Online account. Changes to your users or user permissions in QuickBooks Online, among other events, can cause that authorization to fail. When that happens, disconnect and reconnect:
-
Open the QuickBooks integration settings from the QuickBooks screen or the Admin menu.
-
Select Disconnect in the top-right corner.

-
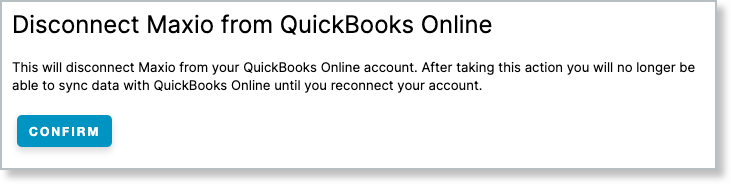
Select Confirm to complete the disconnection.
-
Reconnect by completing the connection steps above.
Only one QuickBooks connection at a time
Your account can connect to QuickBooks Online or QuickBooks Desktop, but not both at once. If you want to switch from one to the other, read Change or Convert Your QuickBooks Connection before taking action.
WARNING: Don't connect more than one QuickBooks Online account to a single Maxio account. Maxio doesn't detect or prevent this, so doing so can corrupt data in both systems.
What to expect next
Once connected, see Understand the QuickBooks Integration for how Maxio and QuickBooks share data, and Sync QuickBooks Data for sync conditions and recommended sync frequency.
Related information
For the settings that control how this connection behaves once it's live, see Configure QuickBooks Integration Settings.
Still need help?
Reach out and our support team will take it from here.