
Set Up Apple Pay with Braintree
Last updated on Sep 19, 2026
Apple Pay in Maxio Advanced Billing allows Customers to complete Transactions securely using Apple Wallet across Public Signup Pages (PSP), Self-Service Pages (SSP), online Invoice payments, and Maxio.js (formerly Chargify.js) implementations.
Important: To use Apple Pay, your site must have the Multi-Gateway feature enabled and use Relationship Invoicing. Contact support@maxio.com to request Multi-Gateway enablement.
Apple Pay is supported only on Apple devices. For which iOS and macOS devices qualify, see the Braintree Apple Pay overview.
Apple Pay is supported in the following scenarios:
-
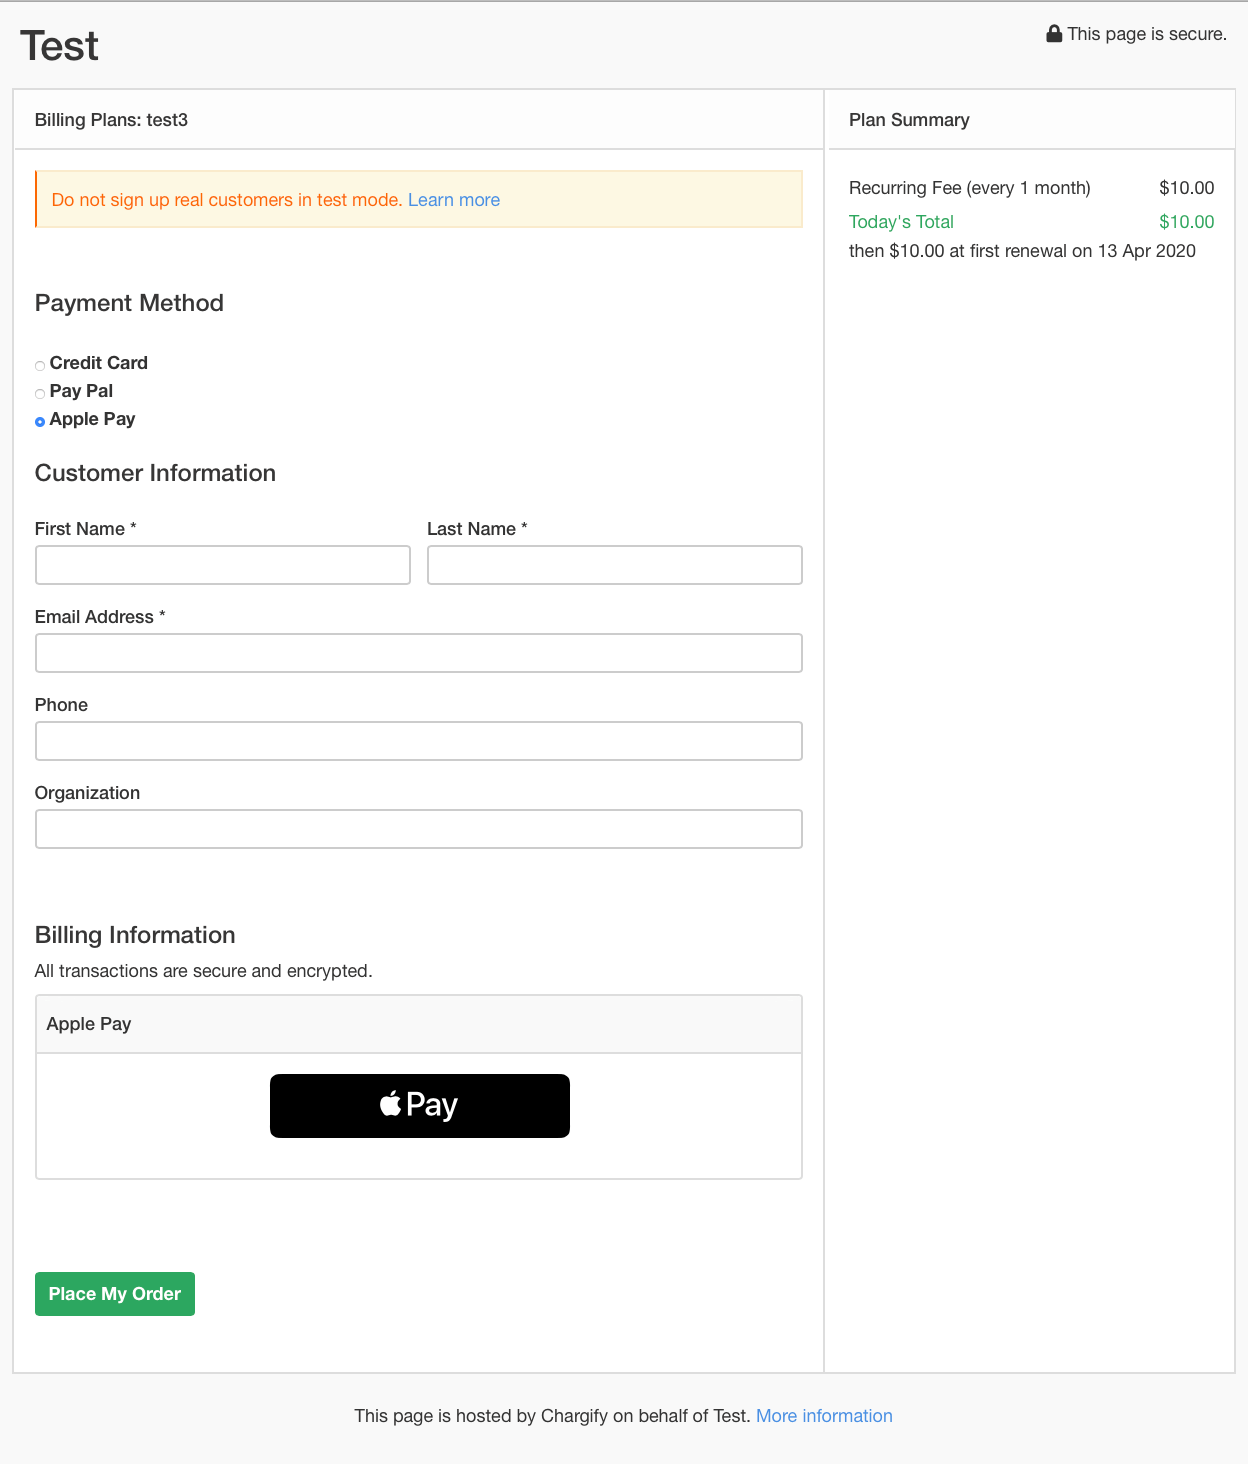
Creating a new Subscription through Public Signup Pages Modern (v2) layout (PSP).
-
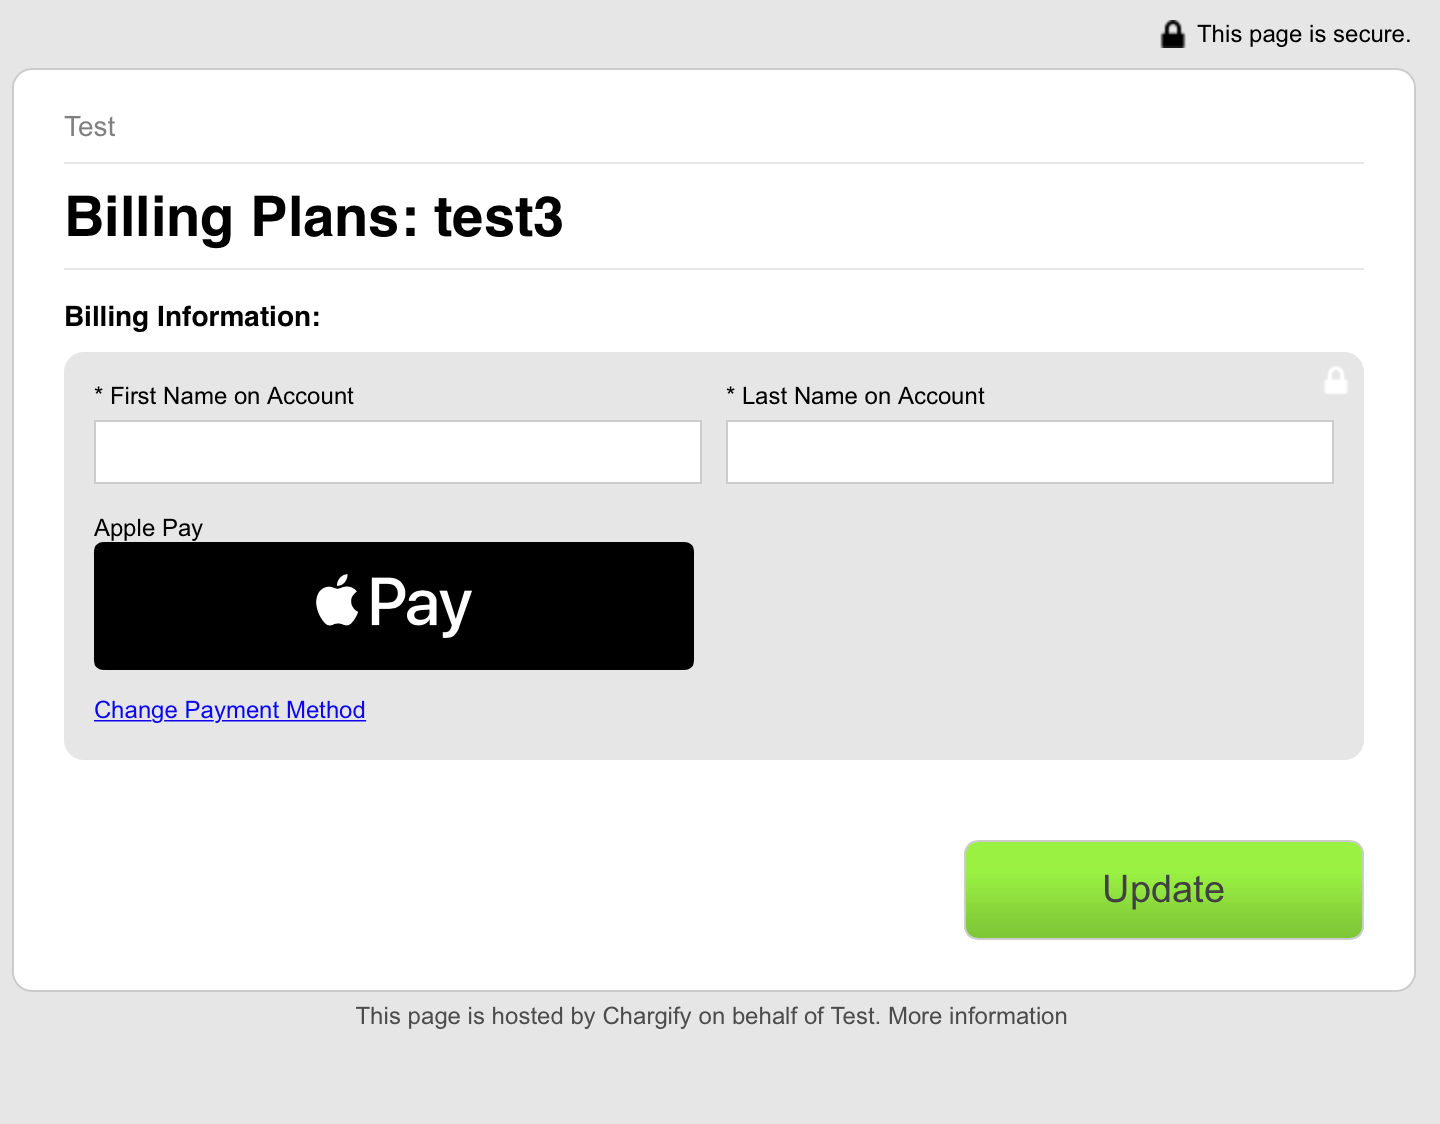
Updating a payment profile through Self-Service Pages (SSP).
-
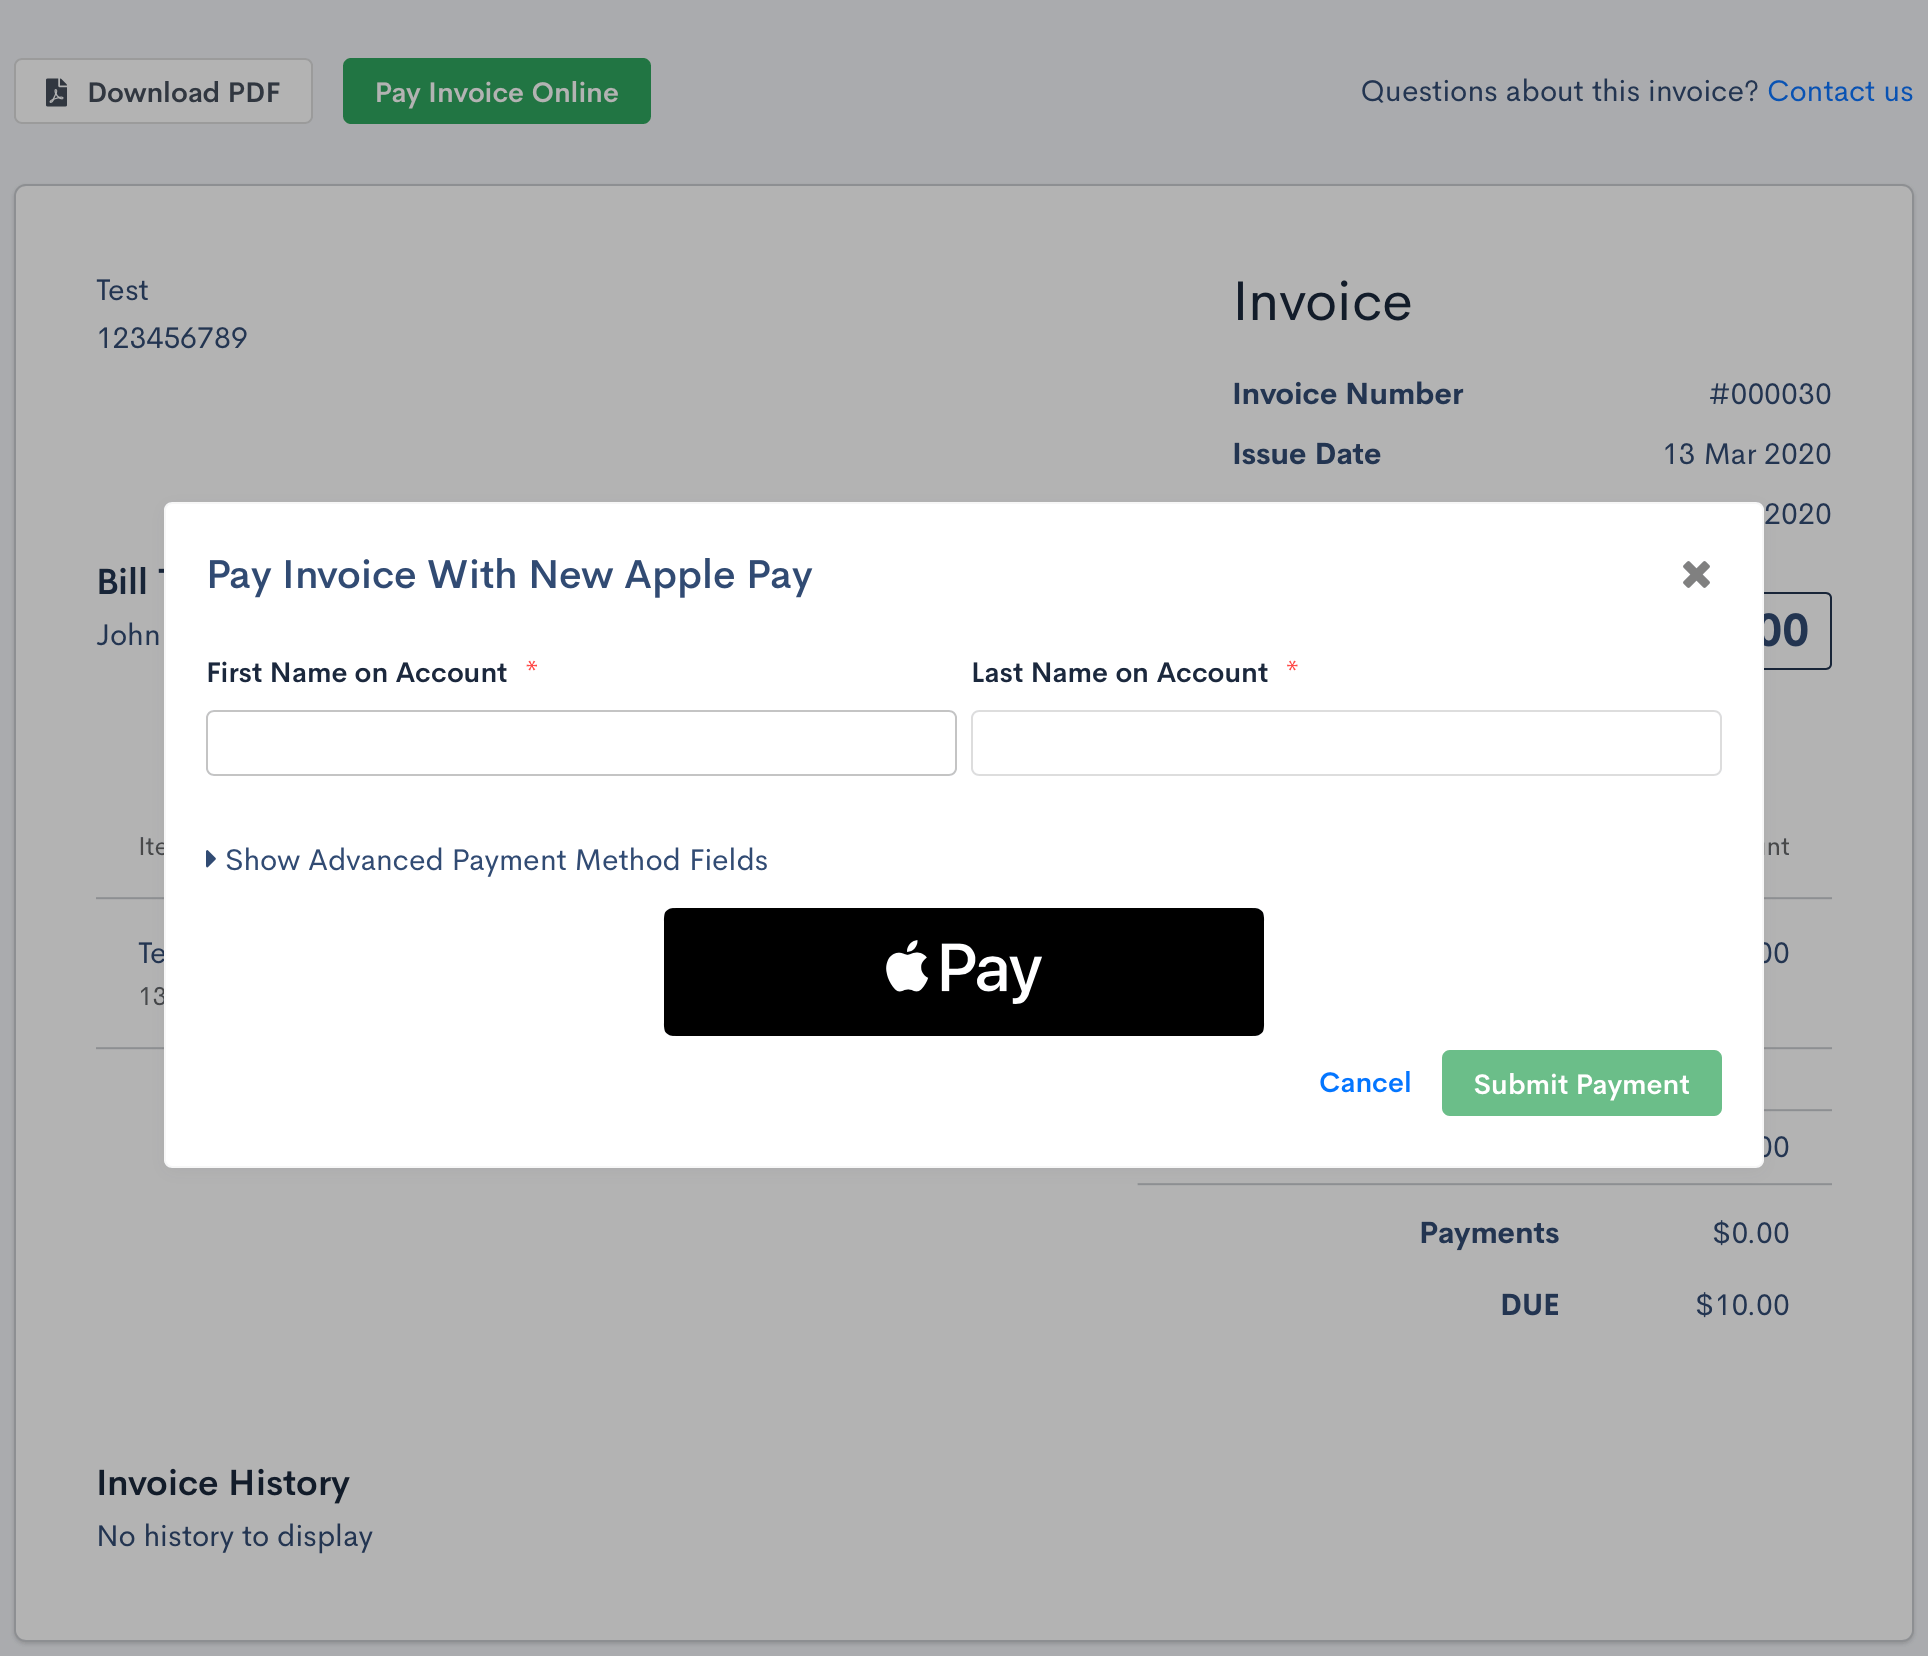
Paying an Invoice online.
-
Using Maxio.js, see the Developer documentation for implementation details.
Configuration
Tip: Test Apple Pay in your test environment before enabling it in production. See Testing for setup instructions.
To configure Apple Pay in Advanced Billing:
-
Enable Apple Pay in your Braintree Control Panel.
-
Register your domains in the Braintree Control Panel.
-
Add the following domains:
-
chargifypay.com, used for paying Invoices online -
Your Maxio site subdomain. Each site requires a unique subdomain.
Example: If your subdomain is test, add
test.chargifypay.comto your Braintree Control Panel.
-
-
If you use Maxio.js to host a checkout page on your own website, add your custom domain to the Braintree Control Panel.
-
If required by Braintree (see the Braintree setup instruction), host the domain association file at:
/.well-known/apple-developer-merchantid-domain-associationThis step is not required for
chargifypay.comdomains. Maxio hosts the required file automatically.
Important:
- If you use Maxio.js on a custom checkout domain, you must host the domain association file on your own domain.
- The configuration steps above are required for Apple Pay to function correctly on PSP and SSP.
Testing
To test Apple Pay in your test environment:
- Contact Maxio Support to enable Apple Pay and the Multi-Gateway feature for your site.
- Enable Apple Pay in your Braintree Control Panel.
- Set up an Apple Developer Account for Apple Pay.
- Add the required domains in your Braintree Control Panel. See the Configuration section above.
- Configure a compatible Apple device using your Apple Developer Account. See the list of supported devices.
- Add Apple Pay test cards to your Apple Wallet using the cards listed in Apple’s sandbox testing documentation.
- Complete a test Transaction using Apple Pay.
Troubleshoot Apple Pay issues
Unsupported device or browser error
If you receive the error message:
Your browser or device does not support Apple Pay on the web. Open this page in Safari on a compatible device.
On a supported Apple device, verify the following:
- All required domains are registered in your Braintree Control Panel.
- You are using Safari on a compatible Apple device.
- A valid credit card is configured in the Apple Wallet on the device.
Errors after configuration
If you completed all configuration steps and Apple Pay still does not appear or fails during checkout:
- Confirm Apple Pay is enabled in your Braintree Control Panel.
- Confirm the Multi-Gateway feature is enabled for your site.
- Verify your domain association file is properly hosted if using a custom checkout domain.
- Test again using a supported device and browser combination.
Important: Before offering Apple Pay to Customers in production, test several live Transactions. If errors persist after completing all steps, contact Braintree Support.
Still need help?
Reach out and our support team will take it from here.