
Create Metered Fields for Invoices
Last updated on Aug 26, 2026
BETA
This feature is currently in beta and may change over time. During the beta period, functionality, availability, and performance may vary.
To join the Beta program, request Beta access.
Create a Metered Field at the site level, then activate it on the Subscriptions where it should appear. Metered Fields are display-only and do not change what a Subscription is charged.
Important: Maxio Metering, at least one Meter, and the Metered Fields feature must be enabled on your site before you begin. See Understand Metered Fields for Invoices.
This article describes the Metering flow. If your site is still on Metering v1 (legacy), go to Metering > Meter Fields instead of Metering > Metered Fields, and activate a Meter Field from the Subscription's Events tab rather than its Metering tab.
Create a Metered Field
Metered Fields are created at the site level under Metering > Metered Fields. A Metered Field created here is available to be activated on any Subscription in your site.
-
Navigate to Metering > Metered Fields in the Advanced Billing sidebar.
-
Click Create Metered Field.

-
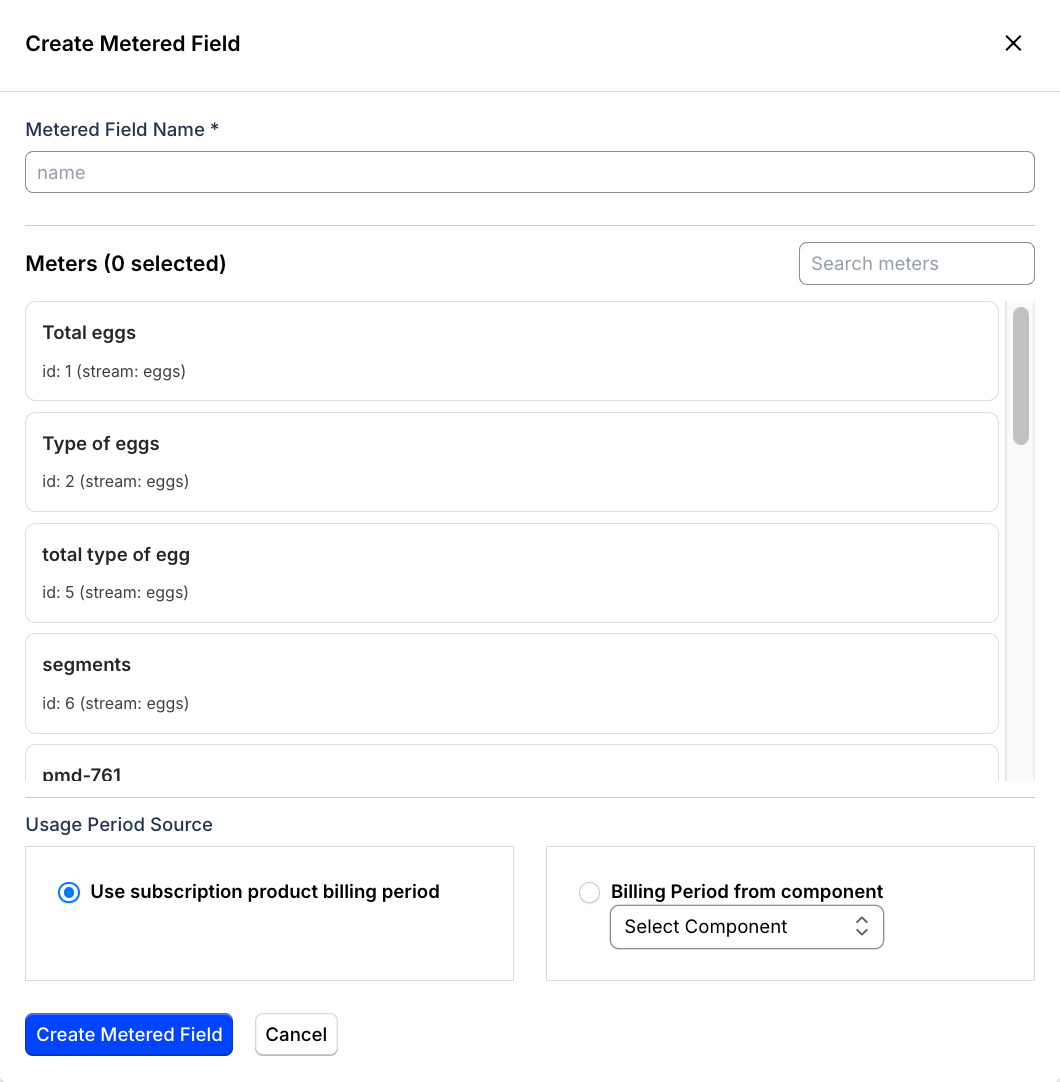
Enter a Name for the Metered Field. This name appears as the section header on the Invoice (for example, API Usage, Storage, or Compute Hours).
-
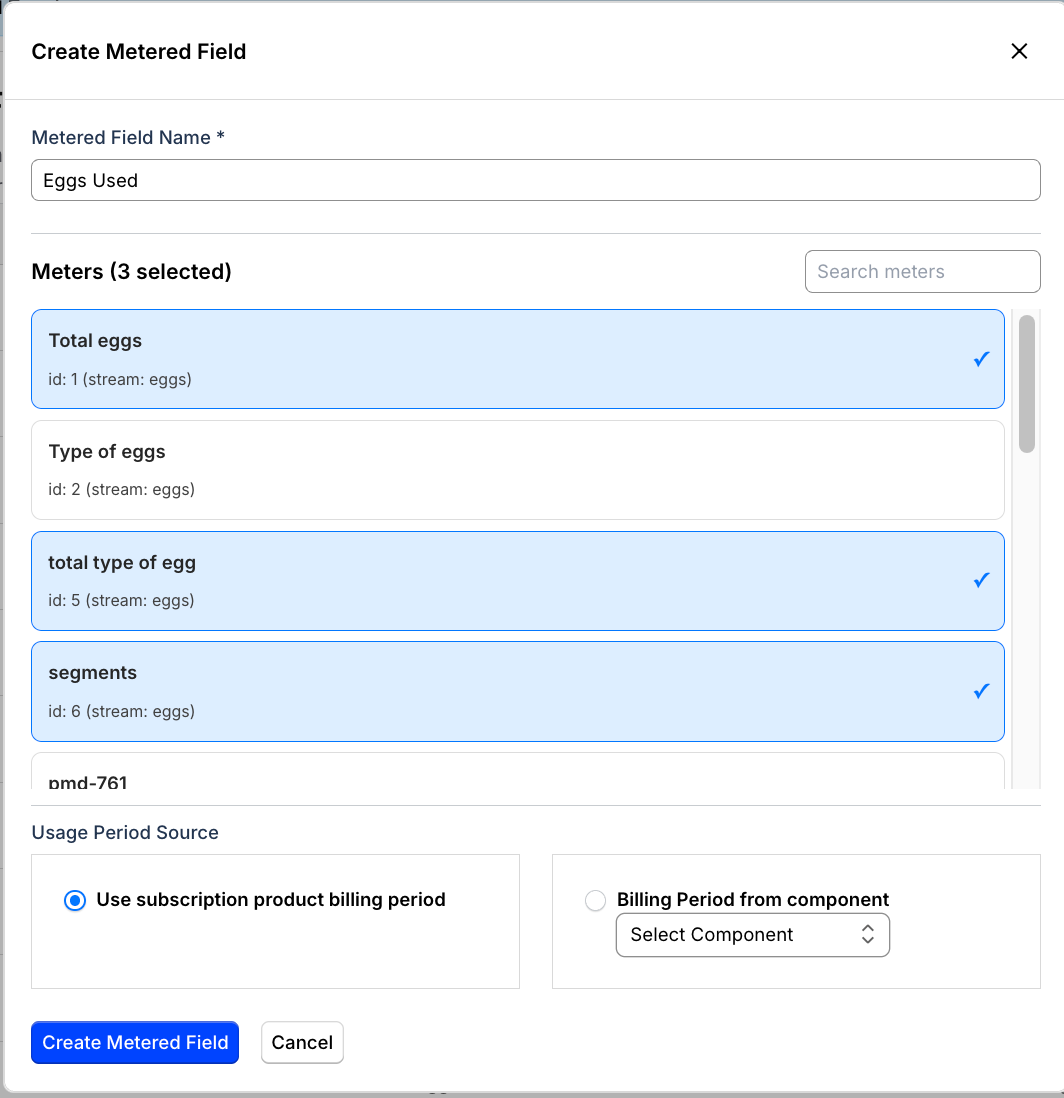
Select the Meters to include. You can add one or more Meters from the same Stream. The aggregated value for each selected Meter displays as a row in the Metered Field section.
-
(Optional) Select a Product to scope the Metered Field to a specific Product's billing period, instead of the Subscription's period. See Configure the billing period source below.
-
Click Save.
Creating a Metered Field at the site level does not immediately add it to any invoices. You must activate it on individual Subscriptions. See Activate a Metered Field on a Subscription.
Activate a Metered Field on a Subscription
Once a Metered Field exists at the site level, you activate it on a per-Subscription basis. Only activated Metered Fields appear on that Subscription's invoices.
-
Navigate to the Subscription's detail page.
-
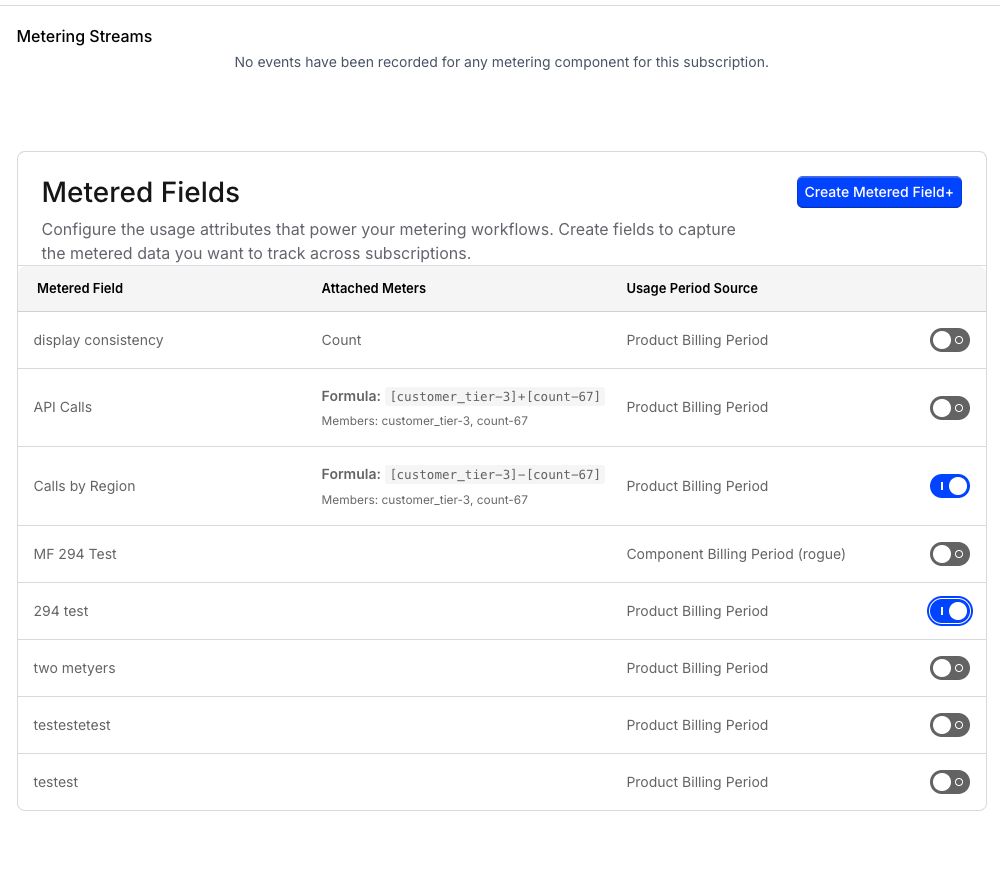
Click Metering to open the Metered Fields section.
-
Locate the Metered Field you want to activate and toggle it on.
-
(Optional) Override the Product scope for this Subscription if you want to use a different Product's billing period than the default configured on the Metered Field.
-
Click Save.
From this point forward, the Metered Field queries Meter data for each billing period and displays the results in a dedicated section on the Subscription's invoices.
Configure the billing period source
Each Metered Field queries Meter data over a date range determined by its Billing Period Source. There are two options:
| Billing Period Source | How it works | When to use |
|---|---|---|
| Subscription period (default) | Uses the Subscription's current billing period start and end dates. | Use when the Meter data you want to display aligns with the Subscription's overall billing cycle. |
| Product period | Uses the billing period of a specific Product on the Subscription. | Use when a Product has a different billing period from the Subscription (for example, an annual Product on a monthly Subscription), and the Meter data should match that Product's period. |
To use the Product period, select a Product when creating or editing the Metered Field. You can override the Product scope per Subscription when activating the Metered Field.
Related information
To combine multiple Meters into a single calculated value, see Use Advanced Formulas with Metered Fields.
For answers to common questions, see Metered Fields FAQ.
Still need help?
Reach out and our support team will take it from here.