
Set Up a Customer Hierarchy
Last updated on Sep 15, 2026
Use Customer Hierarchies to group Customers into parent/child relationships for structure or billing via WhoPays. See Understand Customer Hierarchies and WhoPays to enable this feature first.
Add a parent
Assign a parent to establish a Customer's place in the hierarchy.
To add a parent to a Customer
- From Advanced Billing, go to Billing > Customers and open the Customer you want to assign a parent to.
- Scroll to the Customer Hierarchy section and click Choose a Parent Customer Account.
- Select a parent record and click Preview Selected.
- On the confirmation screen, click Confirm.
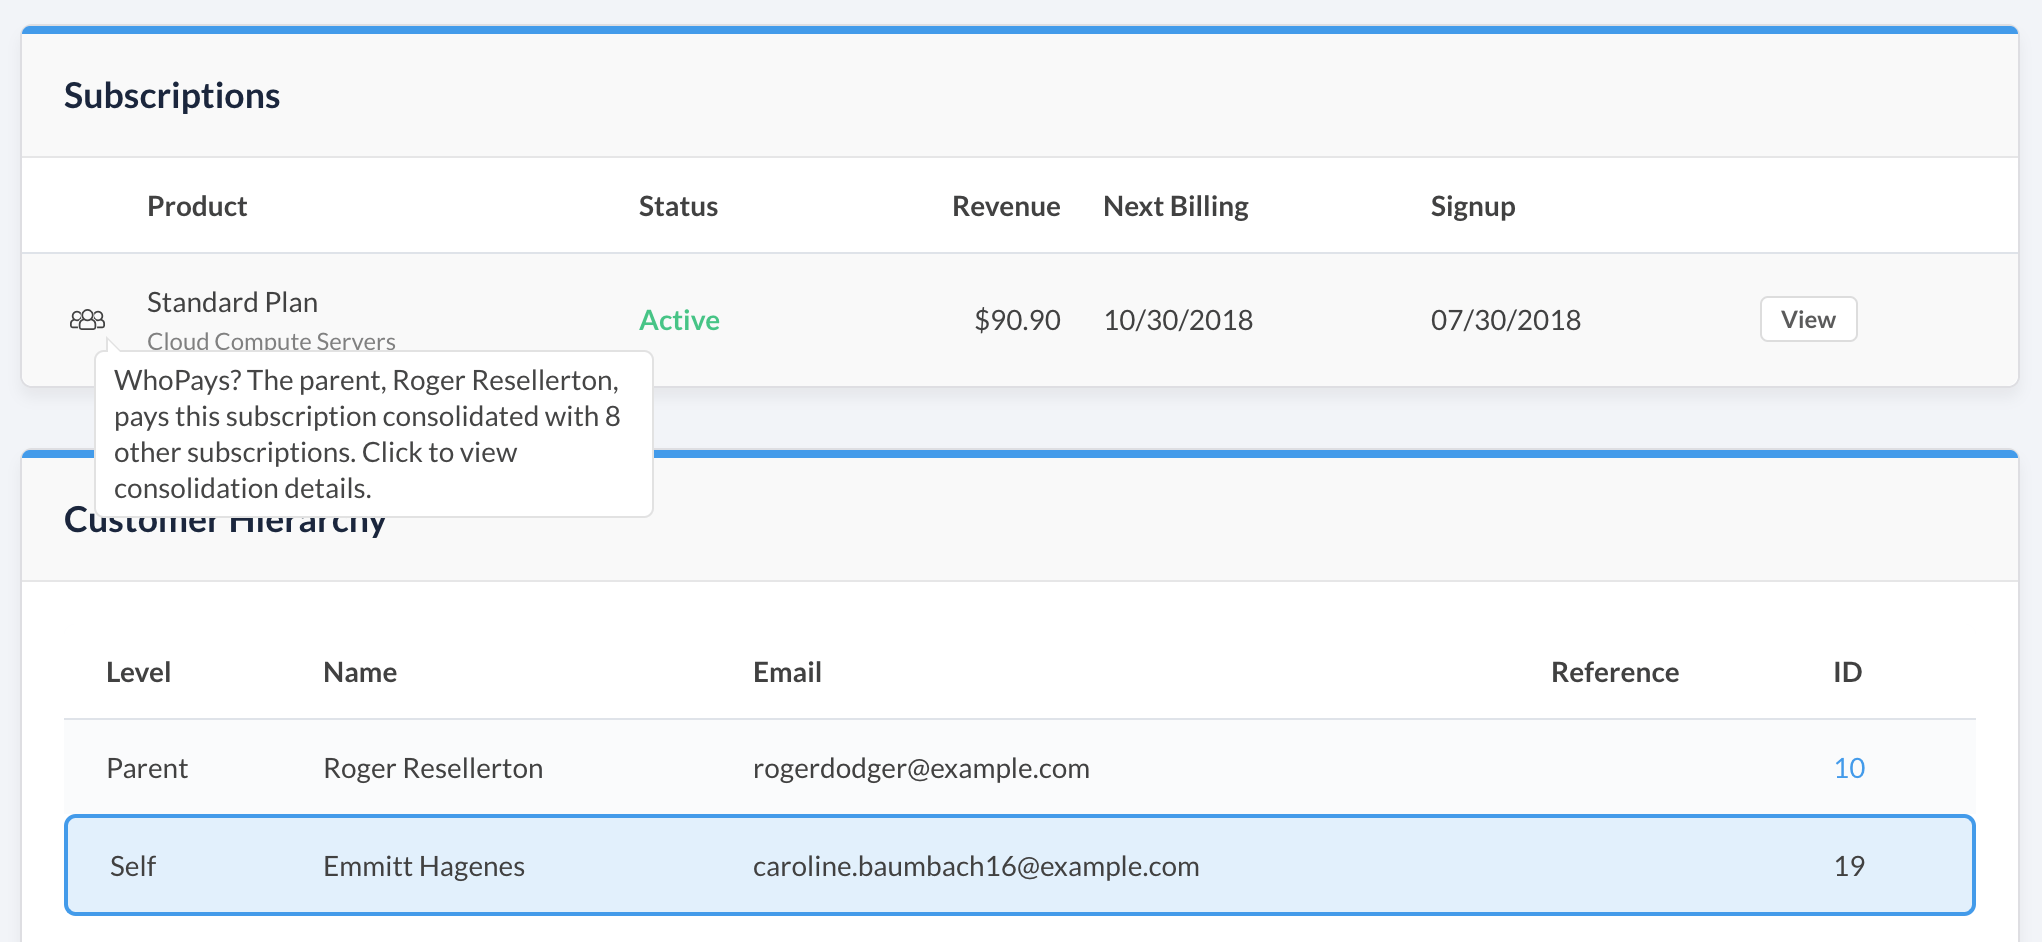
The Customer Hierarchy section now displays the parent, along with any older ancestors (grandparent, and so on).
Assign a parent inline while creating a new Subscription, too: create a new Customer from the Subscription form and assign the parent at the same time.
Add a child
Assign a child to place another Customer beneath this one in the hierarchy.
To add a child to a Customer
- From Advanced Billing, go to Billing > Customers and open the Customer you want to add a child to.
- Scroll to the Customer Hierarchy section.
- Add the child one of two ways:
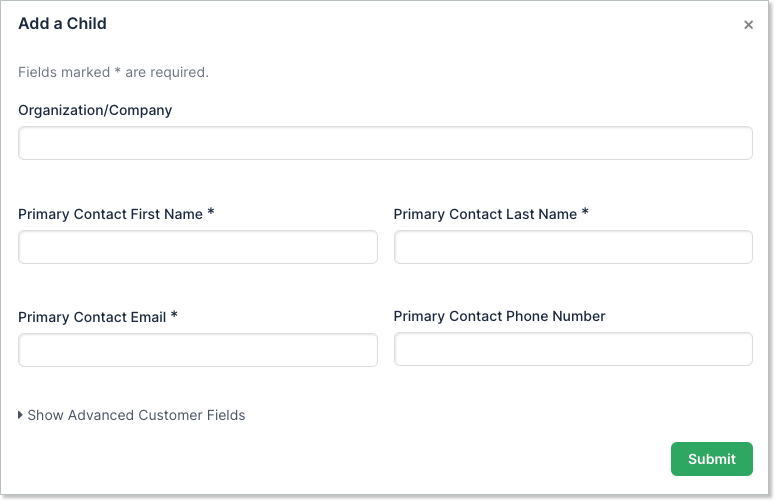
- To create a new Customer as the child, click Add New Customer as Child Account, fill out the form, and click Submit.
- To use an existing Customer as the child instead, click Choose an Existing Child Customer Account, select a record, click Preview Selected, then click Confirm on the confirmation screen.
Remove a parent or child
Click Remove to detach a parent or child. This is only possible if:
- The parent's or child's Subscriptions aren't grouped, or
- They're grouped, but none of the group's Invoices are Open, Pending, or Canceled.
Related information
To create and manage Subscription Groups using this hierarchy, see Create and Manage Subscription Groups.
To assign WhoPays on a specific Subscription, see Assign WhoPays to a Subscription.
Still need help?
Reach out and our support team will take it from here.