
Manage Advanced Billing Invoices in Salesforce
Last updated on Aug 24, 2026
View synced Transactions and Invoices from Advanced Billing, and take common Invoice actions, directly from Salesforce.
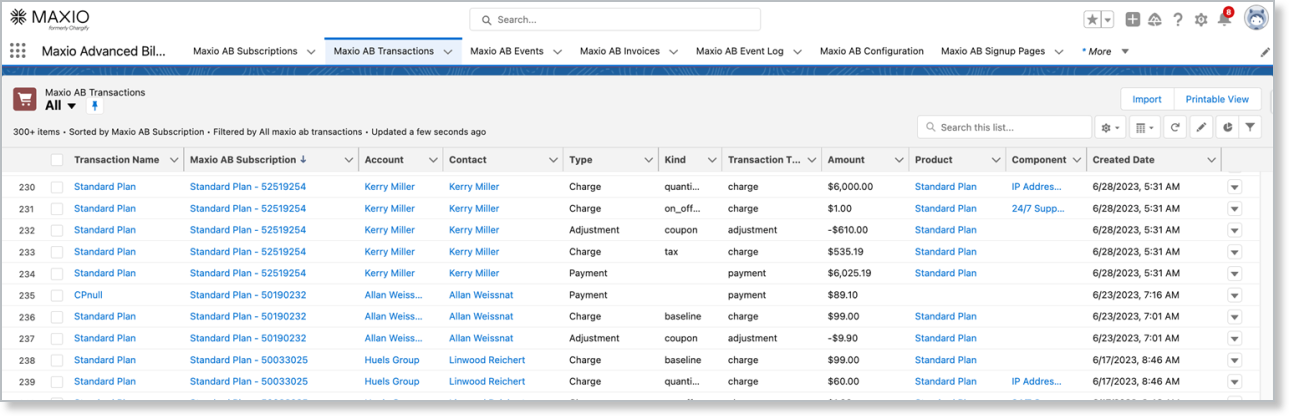
View Transactions
View synced Transactions under the Maxio AB Transactions tab.
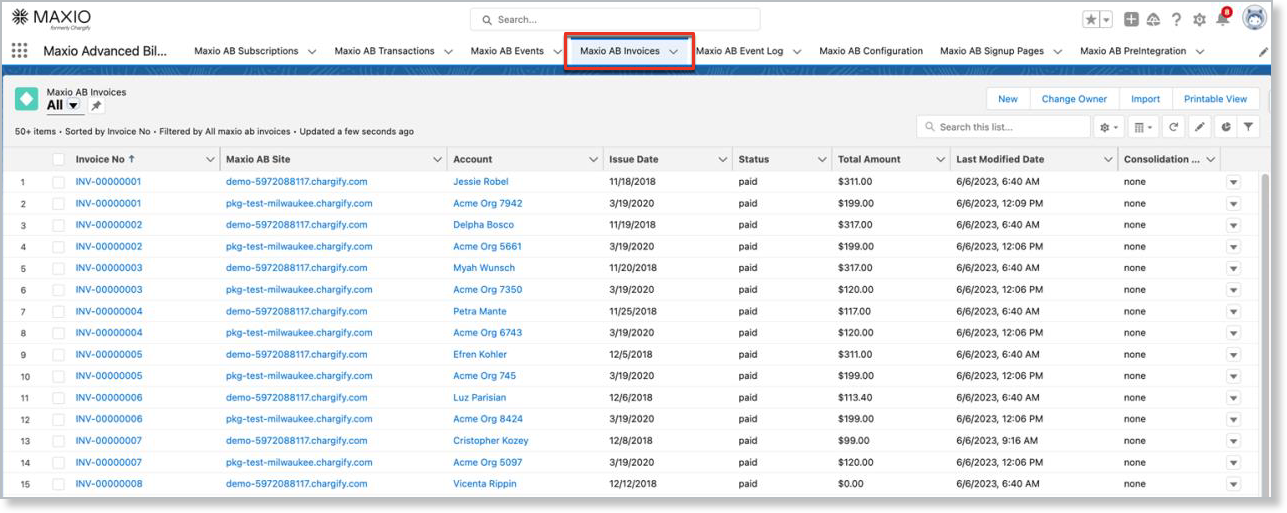
View Invoices
Search for and select Maxio AB in the App Search to open the Maxio AB Invoices tab, where you can access every Invoice Advanced Billing has generated.
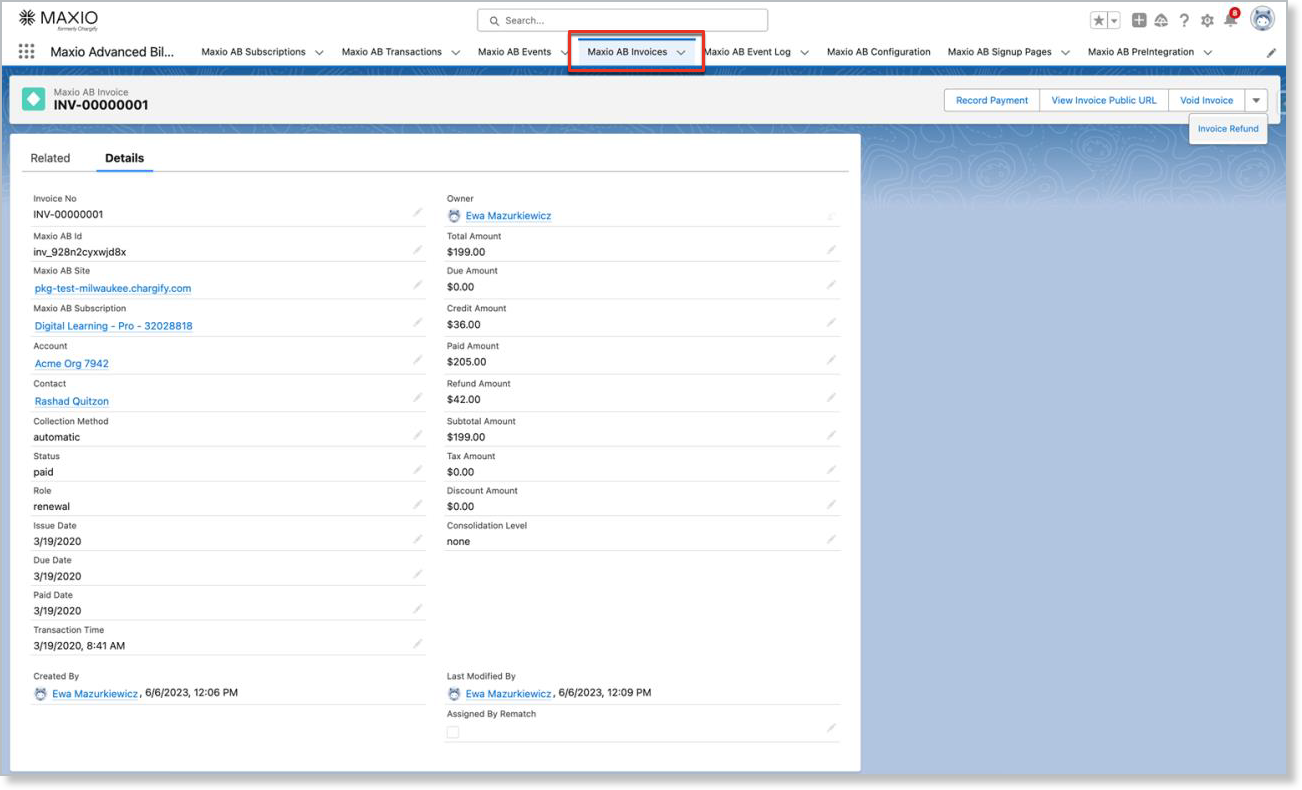
Take action on an Invoice
Click into an Invoice to see the actions available on it.
Record a payment
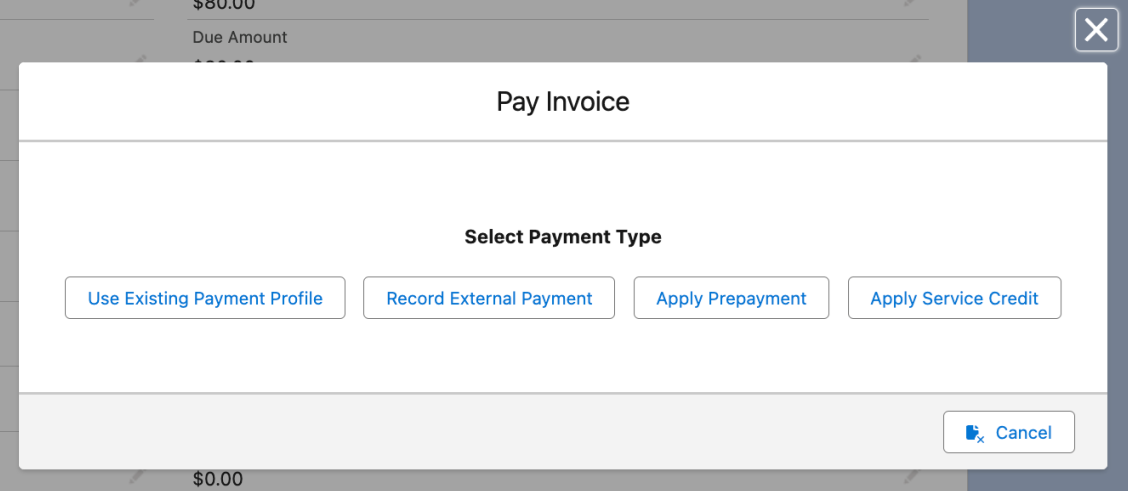
Click Record Payment, then choose:
- Use Existing Payment Profile - Charges the active card on file for the Invoice amount.
- Record External Payment - Creates an external payment and applies it to the Invoice.
- Apply Prepayment - Applies an existing prepayment balance to the Invoice, if one exists.
- Apply Service Credit - Applies an existing service credit balance to the Invoice, if one exists.
Share the Invoice's public URL
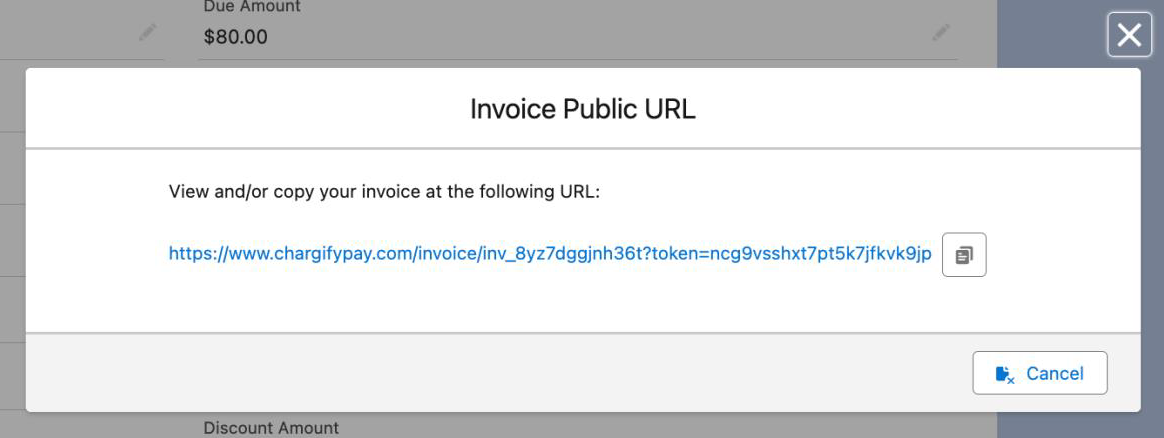
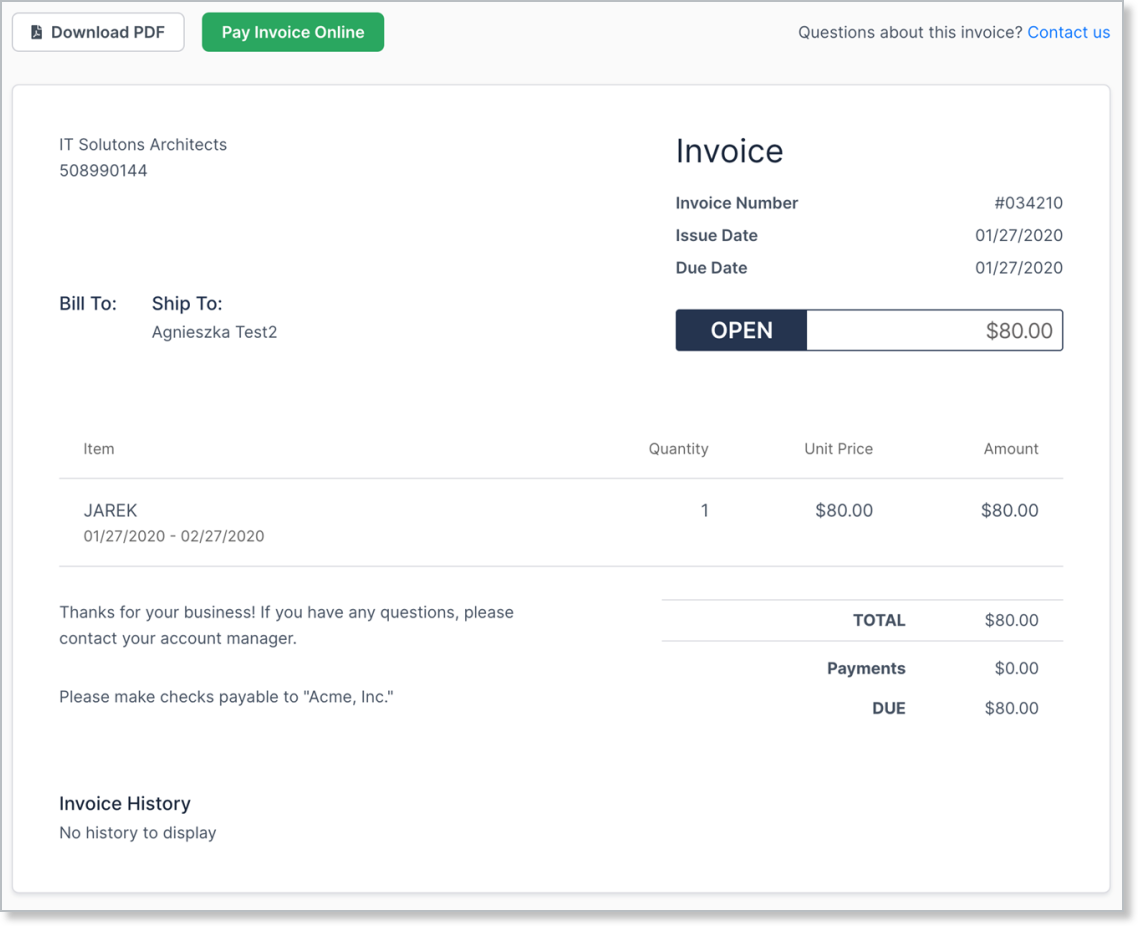
Click View Invoice Public URL to get a link to the Invoice that you can send to a Customer for payment.
Void an Invoice
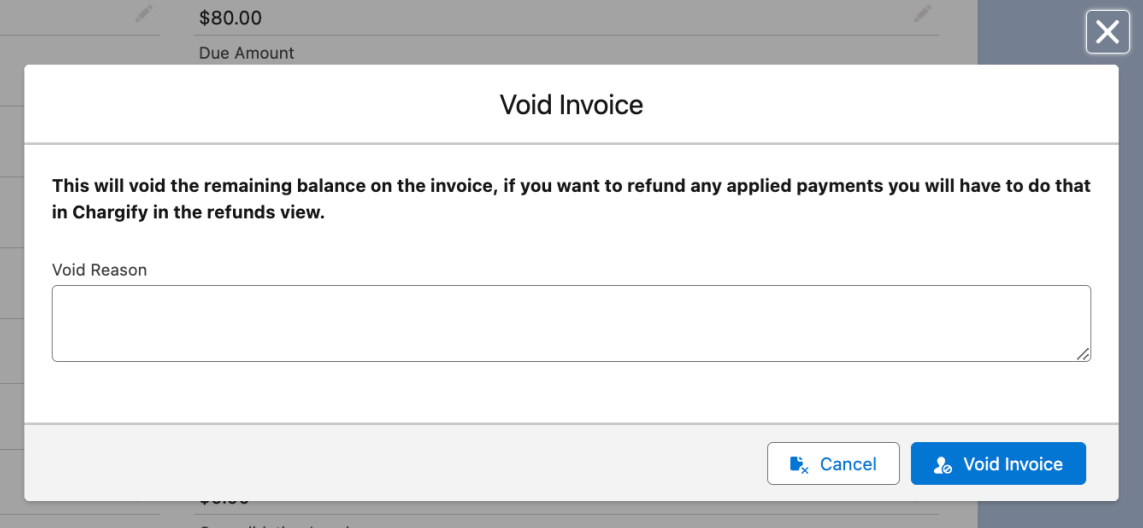
Click Void Invoice to move it to a voided state. A voided Invoice can no longer receive payment.
Refund an Invoice
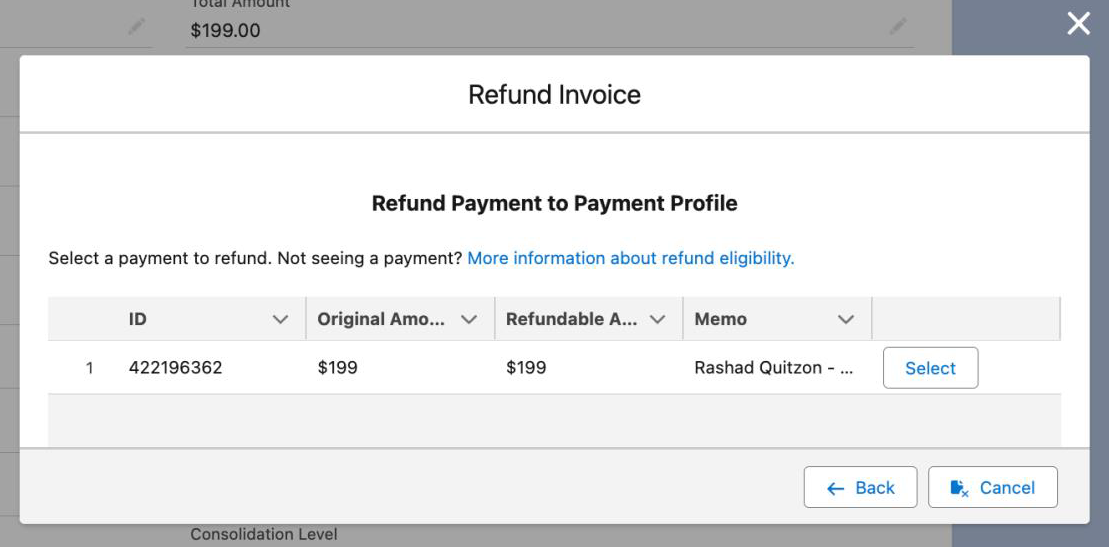
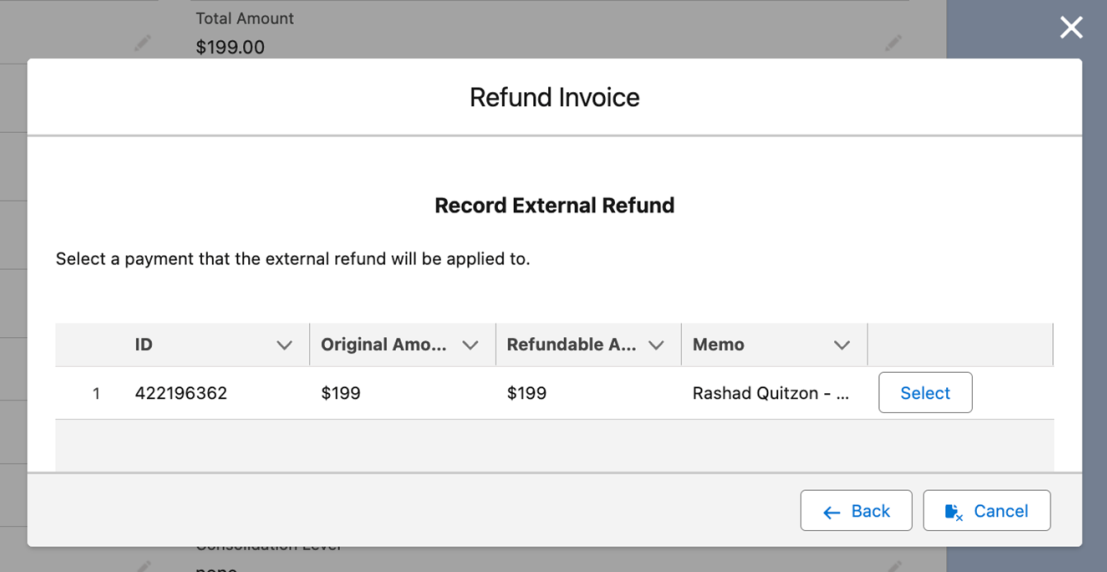
Click Invoice Refund, then choose whether to refund to the Invoice's payment profile or apply an external refund.
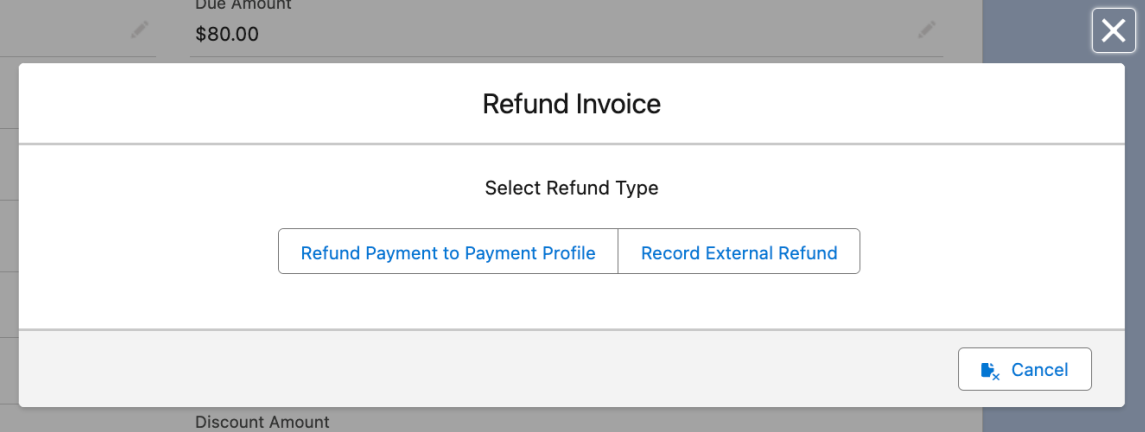
On the next screen, select the payment to refund and enter the amount.
Create a one-time Invoice
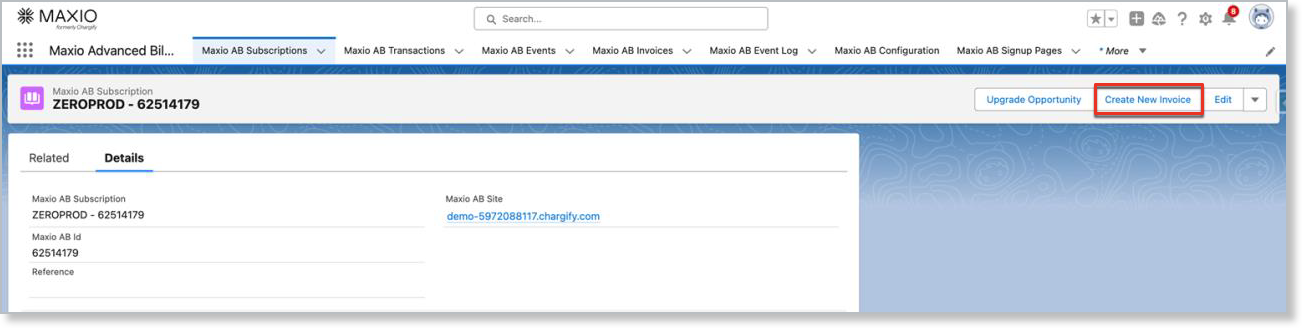
If the Create New Invoice button has been added to the Maxio AB Subscription layout, you can generate a customizable one-time Invoice for an existing Subscription without leaving Salesforce.
To create a one-time Invoice
-
Open the Subscription in Salesforce and click Create New Invoice.
-
Fill in your company name and address in the top left corner. Click the pencil icon below it to enter custom billing and shipping information for this Invoice.
-
Click Add New Line to add a line item. Add as many line items as you need.
-
Once the Invoice looks correct, click Issue Invoice to generate it in Advanced Billing.
To see the Advanced Billing version of the Invoice, navigate to the Subscription in Advanced Billing, click Invoice, and locate the Invoice you just generated.
Related information
To add the Create New Invoice button to the Maxio AB Subscription layout, see Configure Salesforce Layouts for Advanced Billing.
To manage a Subscription's state and Product, see Manage Advanced Billing Subscriptions in Salesforce.
Still need help?
Reach out and our support team will take it from here.