
Create an Offer
Last updated on Aug 27, 2026
An Offer bundles a Product with the Components and Coupons that go with it, so your customers sign up for one package instead of assembling the pieces themselves. Create one by naming it, selecting the Product it is built on, and adding the optional Components and Coupons that complete it.
Summary - Create an offer
- Feature
- Offers
- You Need
- Access to your company's price book
- Code
- None
- Difficulty
- ◉◎◎◎◎
1. Create new offer
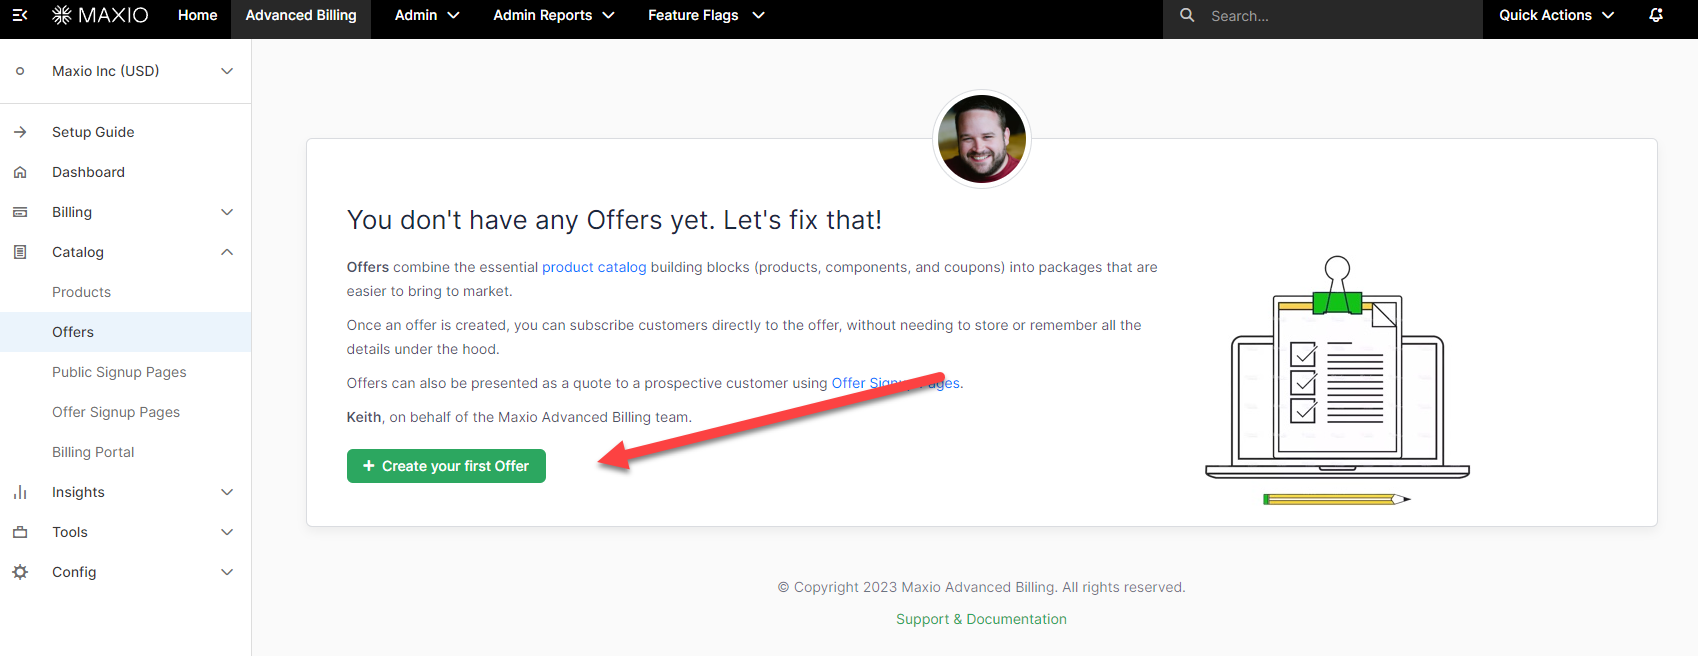
Open the Offers page. If you have not created an Offer before, the page is empty and prompts you to create your first one.
2. Create offer details
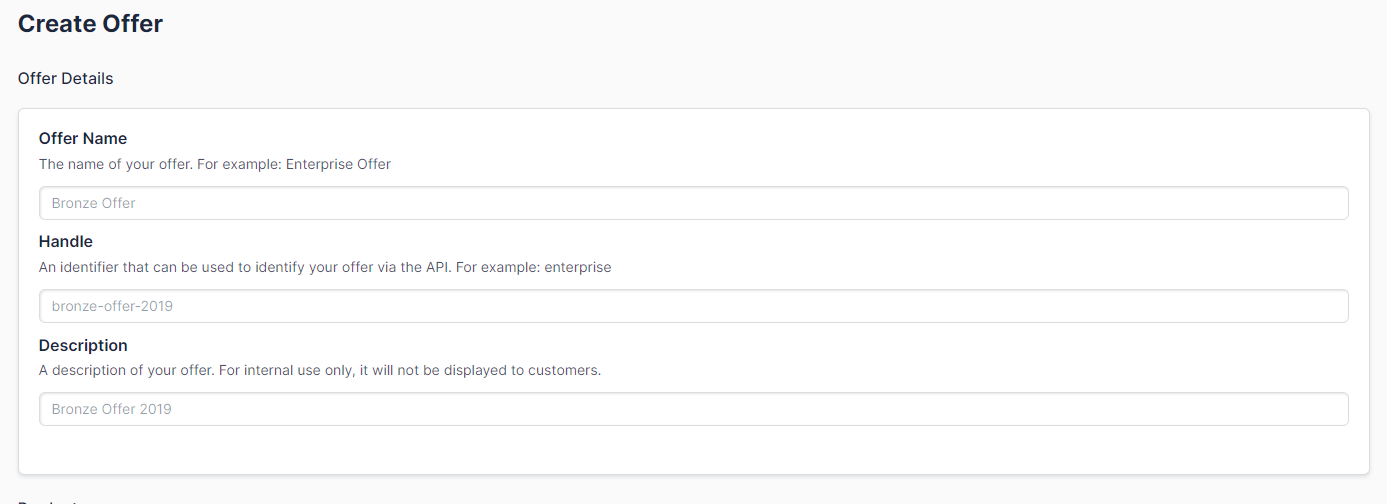
Name the Offer and give it a handle, then decide whether it should be available for Offer migration in the Billing Portal.
| Field | Description |
|---|---|
| Offer Name | (Required) Set the name for this Offer. |
| Handle | (Required) Sets an identifier that can be used to identify your Offer via the API. |
| Description | (Optional) Sets an internal description of the Offer. It doesn't display to customers. |
| Available for Offer Migration in Billing Portal | (Optional) Controls whether customers can migrate to this Offer from the Billing Portal. This option is disabled by default. |
3. Select a product to add to the offer
Every Offer is built on one Product. Select it before adding anything else, since the Components and Coupons you add next apply on top of it.

To create the Product first, see Create Products.
4. Add component(s) (optional)
Add any Components that belong in the Offer. Each one carries its own price point and starting quantity.

To create the Components first, see Create Components.
5. Add coupon(s) (optional)
Add any Coupons that should apply, then create the Offer.

To create the Coupons first, see Create Coupons.
Still need help?
Reach out and our support team will take it from here.