
Enable Apple Pay
Last updated on Sep 19, 2026
Apple Pay allows Customers to complete secure online payments without entering card or bank account details. With Maxio Advanced Billing and the Maxio Payments Gateway, you can enable Apple Pay as a digital wallet payment method for Self-Service Pages, Public Signup Pages, Invoice Pages, and the Billing Portal. Offering Apple Pay can improve checkout speed, increase conversion rates, and enhance the overall payment experience.
Maxio Payments supports Apple Pay alongside card and bank account payments.
Before you begin
To use Apple Pay with Maxio Payments, you must meet the following requirements:
- Use Advanced Billing.
- Use the Maxio Payments Gateway.
- Ensure your Customers operate within Apple-supported environments, such as Safari on iOS or macOS.
Apple Pay is only available within supported Apple environments, including compatible versions of Safari, iOS, and macOS.
Turn on Apple Pay
Turning on Apple Pay requires Maxio Support to enable it for your site, then updating your Maxio Payments gateway and payment routing settings.
To turn on Apple Pay
-
Contact Maxio Support and request that Apple Pay be enabled for your site.
-
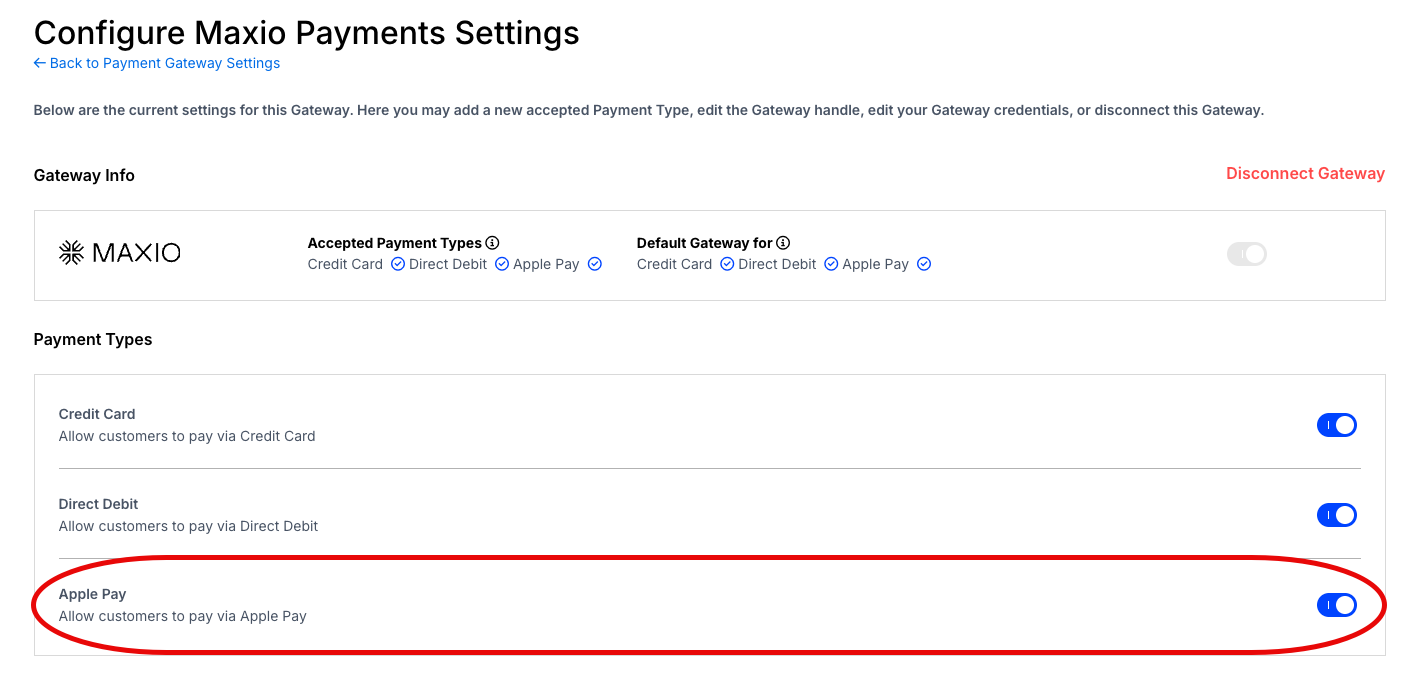
Navigate to the Configure Maxio Payments Settings page and turn on the Apple Pay toggle under Payment Types.
-
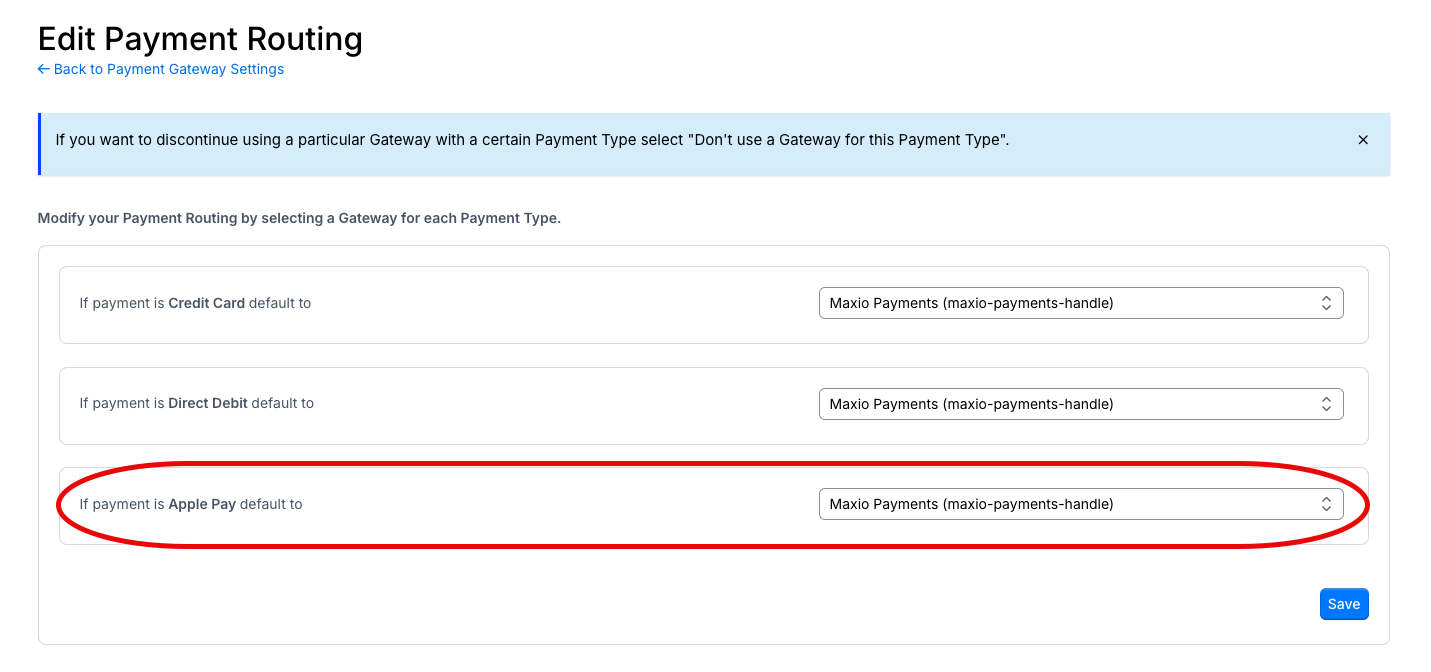
Navigate to the Edit Payment Routing page and set Maxio Payments as the default gateway for Apple Pay payments.
-
Complete a test payment in production to confirm Apple Pay is working as expected.
Where customers can use Apple Pay
After you enable Apple Pay, Customers can use it on the following pages and interfaces:
-
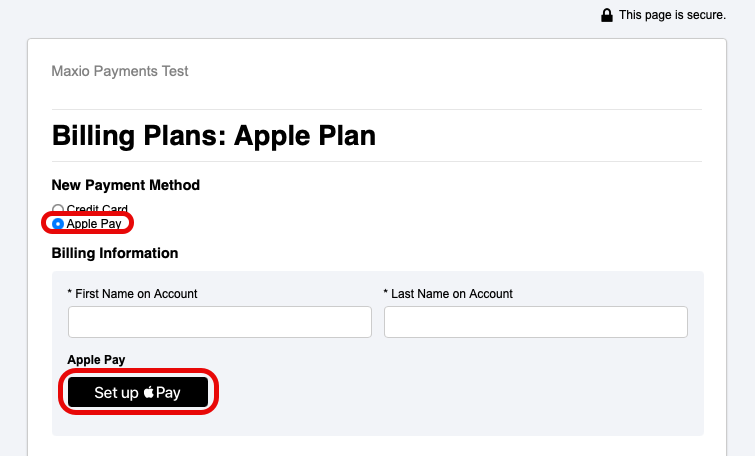
Self-Service Page
-
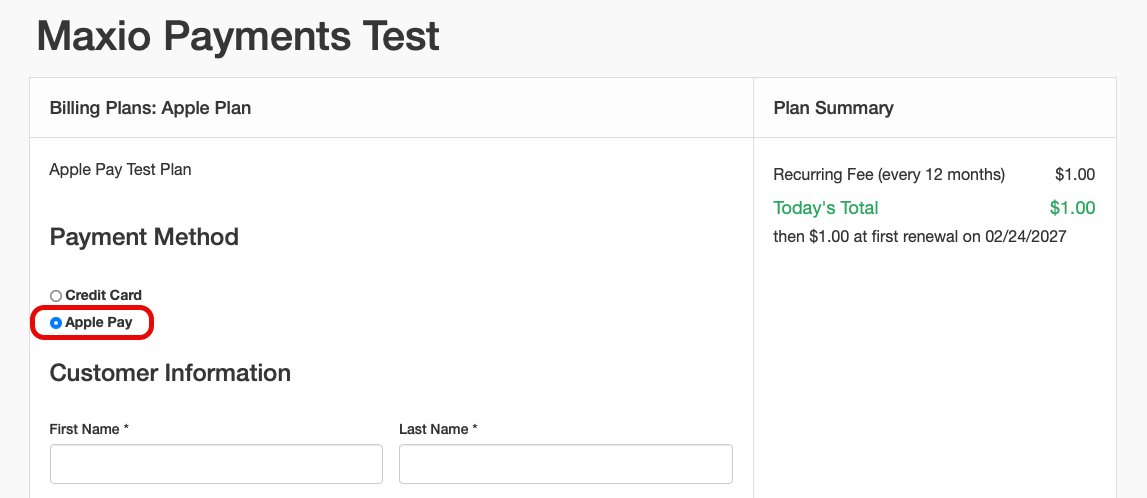
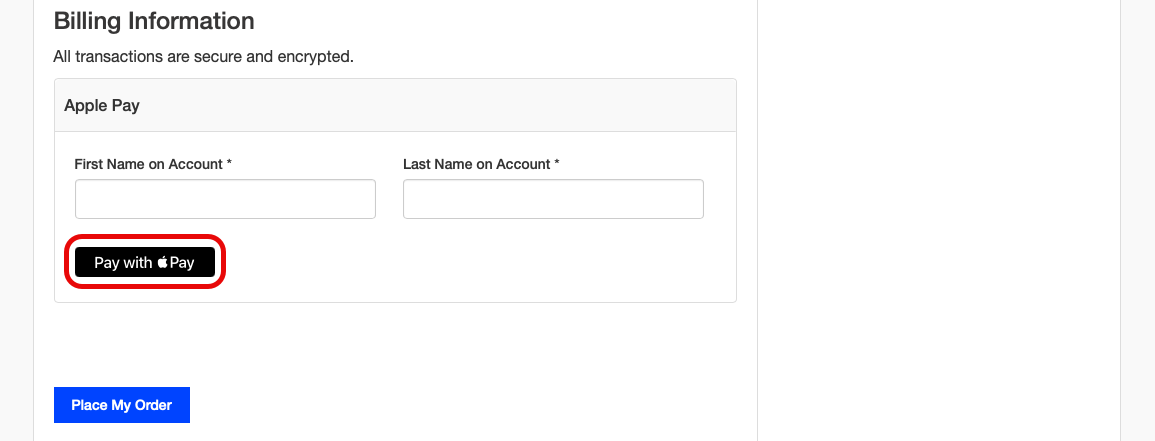
Public Signup Page (modern layout)
-
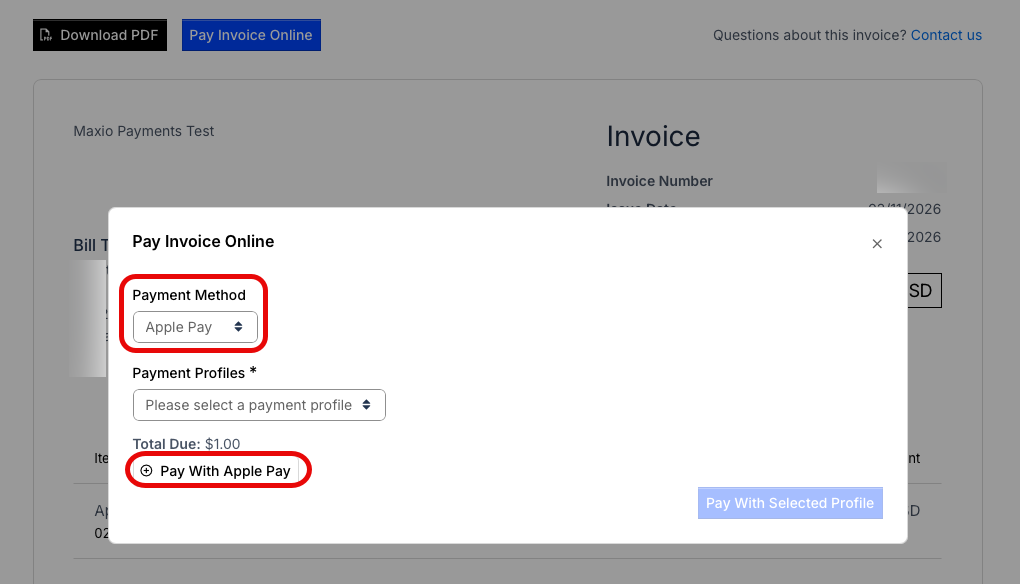
Invoice Page
-
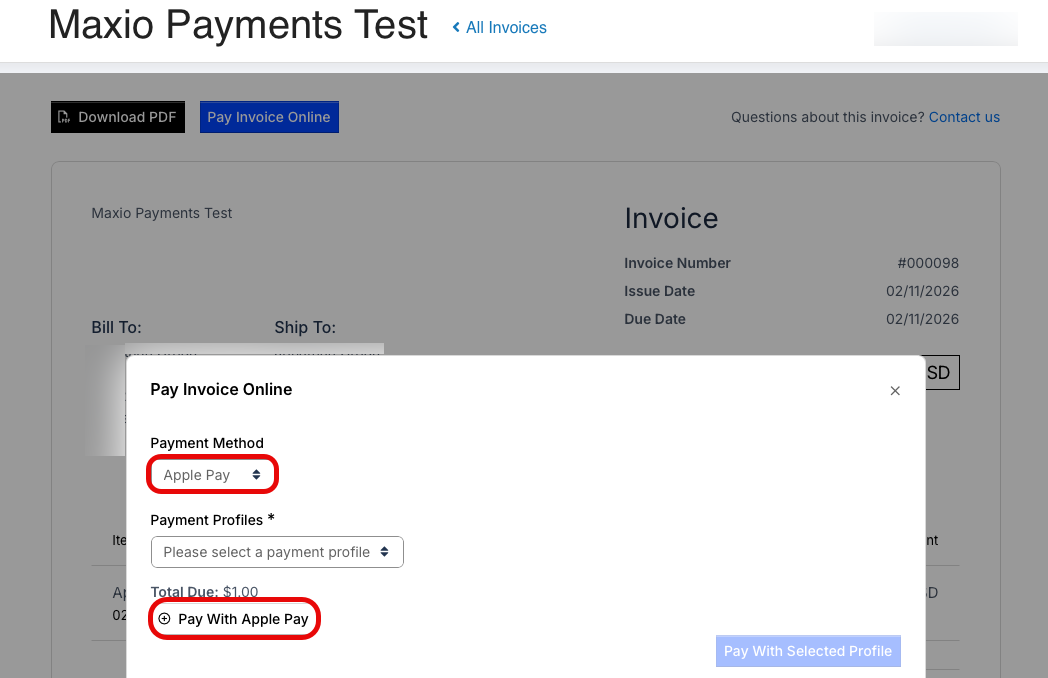
Billing Portal Invoice Page
-
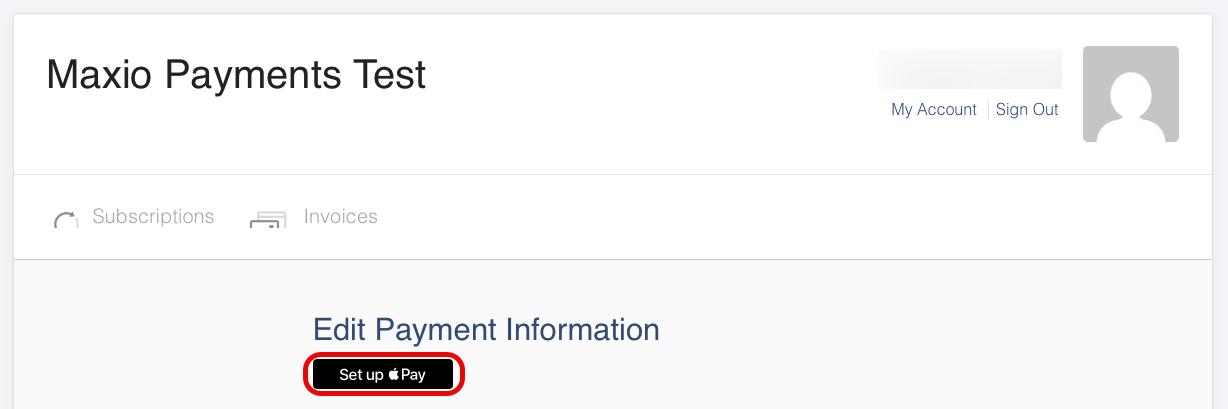
Billing Portal Update Payment Method
-
API
See the Configure Maxio.js article for Maxio.js (formerly Chargify.js).
WARNING: Once you add a domain, you cannot remove it.
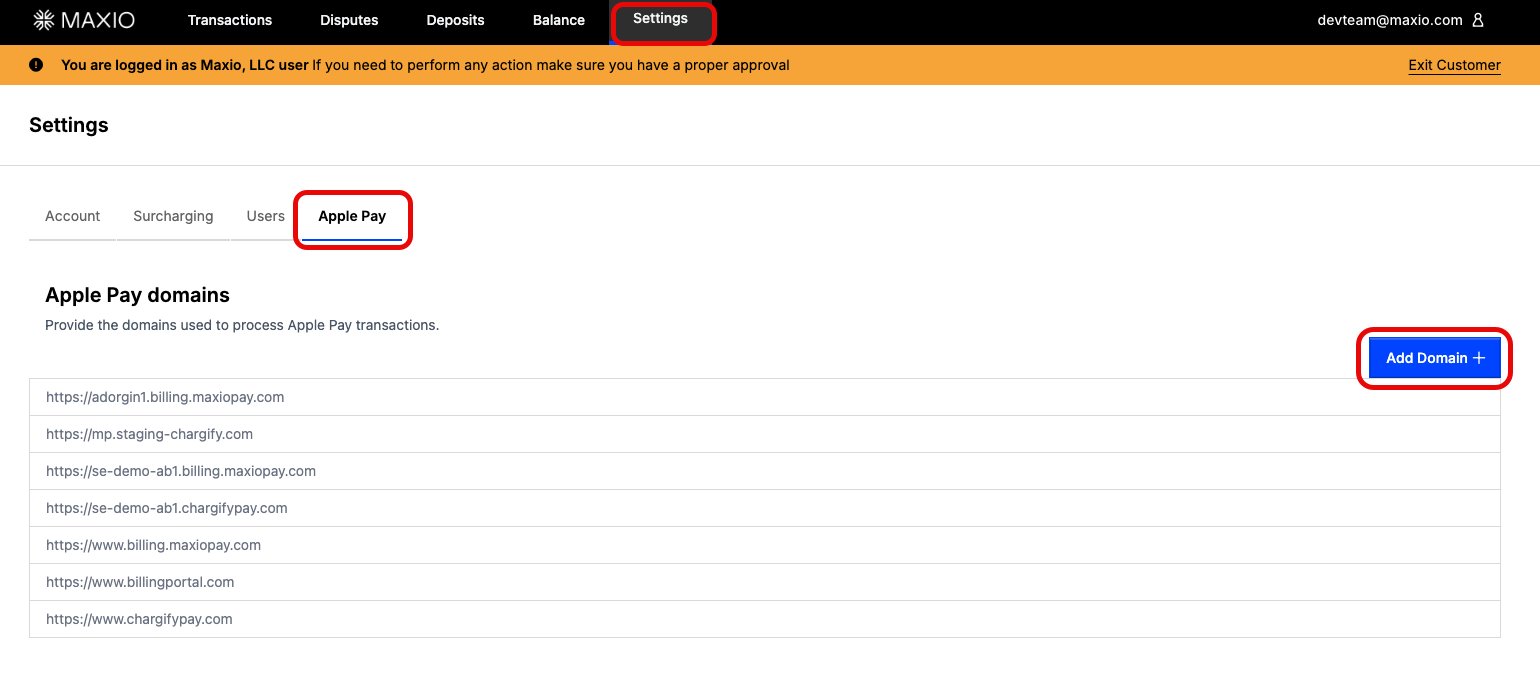
Add your self-hosted checkout page domains through the Maxio Payments UI, as needed. Go to Settings > Apple Pay and select Add Domain. Maxio hosted checkout domains are automatically added when you enable Apple Pay in the Maxio Payments gateway configuration in Advanced Billing. This step is necessary for the Apple Pay button to render properly.
Next steps
After you enable Apple Pay, see Testing Apple Pay to validate that it works correctly before going live.
Still need help?
Reach out and our support team will take it from here.