
Update Theme Settings
Last updated on Aug 25, 2026
Modify Branding Theme settings to control invoice appearance, including colors, fonts, language, and logos. Apply updates to ensure consistent styling across future billing documents.
Update a theme
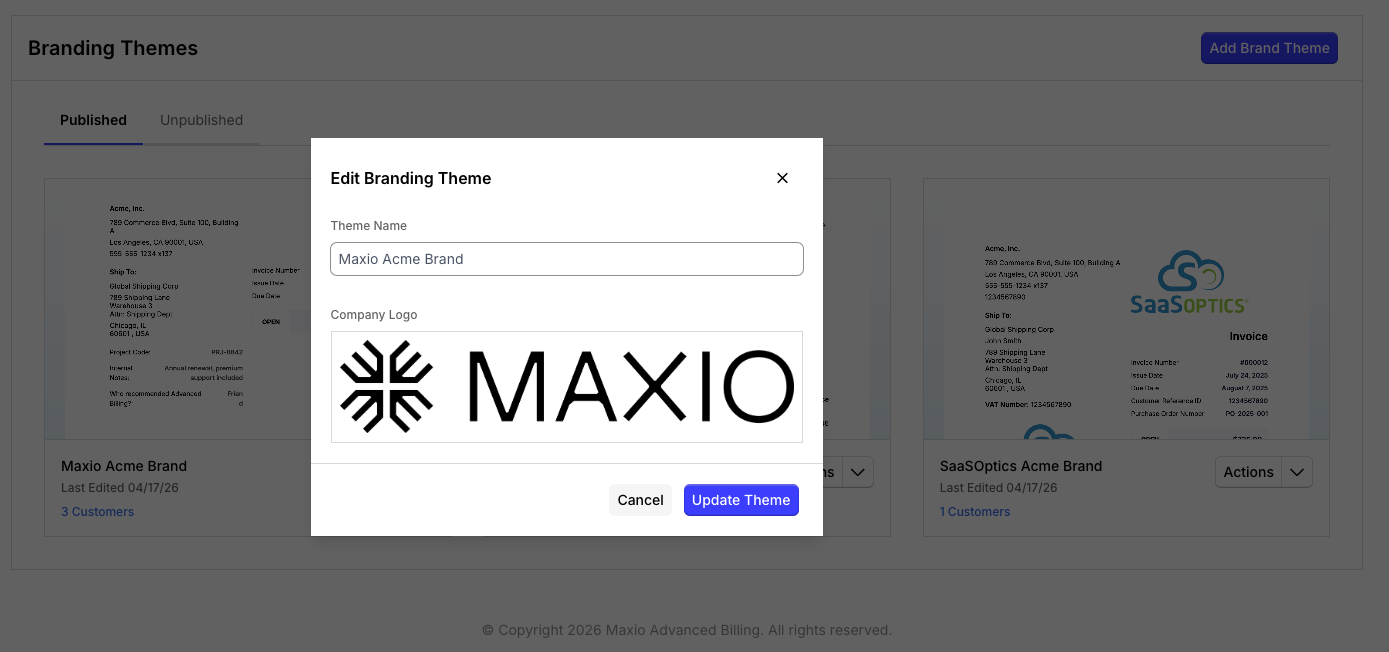
The settings panel keeps a theme's core appearance controls in one place. It also accepts a theme's description, date format, and address, and its icon and preview image, in addition to name, logo, language, and colors and fonts.
To update a theme
- Go to Config > Branding.
- Find the theme you want to change.
- Click Actions.
- Click Edit Settings.
- Make your changes in the settings panel.
- Click Update Theme to save.
Required fields
Theme Name and Language must be completed before the update can be saved. Language defaults to English, so this rarely blocks you in practice. Missing values prevent the theme from updating.
- Theme Name
- Language
Company Logo and the theme's other visual settings are optional.
What happens after you save
A success message confirms the update when it completes. If the update fails, the page shows an error message so you can correct the issue and try again.
Theme changes apply to invoices based on your billing workflow and when the invoice is generated. Existing invoices may not reflect updates that are made after they are created.
Related information
To design and publish your first theme, see Create a Theme.
To change how fields are laid out on the Invoice itself, see Edit Invoice Template Layout.
Before publishing your changes, see Preview a Theme Before Publishing to check how they appear to Customers.
Still need help?
Reach out and our support team will take it from here.